
Photovoltaic energy storage equipment installation process and precautions
2025-07-28
With the rapid development of the photovoltaic industry, the number of photovoltaic energy storage power stations has gradually increased. Many novice friends do not know much about the installation process and precautions of photovoltaic energy storage equipment. Today, Bonada briefly summarizes the installation process and precautions of photovoltaic energy storage systems for reference by novice friends.
The photovoltaic energy storage system is mainly composed of photovoltaic arrays (photovoltaic panels), controllers, battery packs, DC/AC inverters, power loads, etc., and also includes charge and discharge controllers, batteries, inverter links, and some photovoltaic energy storage systems also include solar tracking control systems.
The following introduces the installation precautions of each link.

Photovoltaic array (photovoltaic panel)
The following precautions should be taken when installing a photovoltaic array:
- Before installation, the photovoltaic modules must be tested first. A multimeter can be used to test the voltage value of the photovoltaic modules, and the test data should be recorded and archived for subsequent tracking and comparison.
- The layout principle of photovoltaic modules should ensure that the photovoltaic modules can receive as much solar radiation as possible throughout the year, and ensure that there is no obstruction between the modules.
- During layout, the inclination angle of photovoltaic modules should be determined according to the local latitude. For fixed photovoltaic arrays, photovoltaic modules usually adopt the same inclination angle; for photovoltaic arrays with seasonally adjusted inclination angles, the inclination angle of photovoltaic modules should be determined according to the principle of receiving maximum solar radiation.
- The front, back, left and right spacing of photovoltaic modules should meet certain requirements to ensure that the photovoltaic modules are not blocked by the shadows of adjacent modules from 9:00 to 15:00 every day; the upper and lower array spacing of photovoltaic modules should be determined according to the specifications of the selected photovoltaic modules to ensure that they are not blocked by the shadows of the front row modules at noon on the winter solstice.
- The installation of photovoltaic modules must be firm and reliable and should comply with the requirements of structural mechanics. The connection between photovoltaic modules or arrays and brackets should be firm and reliable. For fixed photovoltaic modules, the brackets of the arrays should be firmly connected to the foundation. For photovoltaic modules installed on the roof, appropriate waterproofing measures must be adopted to prevent rainwater from leaking into the house.
- After the photovoltaic module array is installed, all photovoltaic modules should be connected in series and parallel, and fixed between the photovoltaic modules and the array bracket, and between the array bracket and the foundation. At the same time, it is necessary to ensure that the photovoltaic module array can withstand the attack of the maximum local wind force. If necessary, windproof pull rods should be installed and inspected regularly.
- During the installation of photovoltaic modules, attention should be paid to the protection of photovoltaic modules. Photovoltaic modules should be prevented from being hit, stepped on or damaged in any other form. Photovoltaic modules should not be subjected to severe impact, vibration and extrusion during transportation, storage and installation, so as to avoid hidden cracks or damage to photovoltaic modules. During the installation process, attention should be paid to the position of the photovoltaic module junction box, and the sealing performance of the junction box should be good. At the same time, the bypass diode in the junction box should be firmly connected. If the junction box is damaged or the diode falls off, it should be replaced or repaired in time.
Controller
The following points should be noted when installing the controller:
- The controller is usually installed indoors. During installation, ensure that the heat dissipation duct of the controller is unobstructed and has good ventilation conditions so that the controller can dissipate heat in time during operation.
- The controller should be installed close to the battery, but the two should be separated by heat insulation materials to prevent the heat emitted by the battery from affecting the normal operation of the controller.
- The connection wires of the controller should be neat and orderly, and the wire ends should be clearly marked to facilitate subsequent maintenance and repair. At the same time, be careful not to connect the positive and negative poles in reverse when wiring to avoid damaging the controller.
- After the installation, the controller should be debugged to check whether its functions are normal. First, the various parameters of the controller should be set, such as charging voltage, discharging voltage, overcharge protection voltage, over-discharge protection voltage, etc. Then simulate the working state of the photovoltaic system to check whether the controller can start and shut down the photovoltaic system normally, whether it can automatically adjust the charging and discharging current according to the battery power, etc.
Battery Pack
The following precautions should be taken when installing the battery pack:
- Batteries are usually installed indoors. The installation location should be away from fire sources and flammable and explosive items, and the battery pack should be well ventilated to prevent the heat generated by the battery during charging and discharging from being unable to dissipate and causing the temperature to rise.
- The battery pack must be stable during installation. It can be fixed with a dedicated battery bracket or tray. At the same time, the spacing between the batteries must be appropriate to facilitate heat dissipation and maintenance.
- The connection wires of the battery pack should be of appropriate cables, and the connection should be firm and reliable to avoid poor contact or short circuit. When connecting, pay attention to the connection sequence of the positive and negative poles to avoid reverse connection.
- After the installation, the battery pack should be charged and discharged to check whether its performance is normal. First, the battery pack should be charged, and then the discharge test should be performed after it is fully charged. The voltage, current and discharge time of the battery pack should be recorded to facilitate the subsequent analysis and evaluation of the performance of the battery pack.
- For batteries that require regular maintenance (such as lead-acid batteries), regular maintenance should be carried out in accordance with the maintenance manual provided by the manufacturer, such as regular replacement of electrolyte, cleaning of battery surface, etc., to ensure the service life and performance of the battery.
DC/AC Inverter
The following points should be noted when installing the DC/AC inverter:
- The inverter should be installed in a well-ventilated, dry environment without corrosive gases. Avoid installing it in humid or water-prone places to ensure the normal operation and service life of the inverter.
- The stability of the inverter must be ensured during installation. A special mounting bracket or tray can be used to fix it. At the same time, the distance between the inverter and surrounding objects must be appropriate to facilitate heat dissipation and maintenance.
- The DC input and AC output terminals of the inverter should be connected to the photovoltaic array and the grid or load respectively. When wiring, pay attention to the connection sequence of the positive and negative poles and the correctness of the phase sequence to avoid reverse connection or wrong phase sequence.
- After the installation, the inverter should be debugged and tested to check whether its function is normal. First, the parameters of the inverter should be set and calibrated, such as input voltage range, output voltage and frequency. Then simulate the working state of the photovoltaic system to check whether the inverter can start and shut down normally, whether it can automatically adjust the output power according to the power of the photovoltaic array, etc. At the same time, the output waveform and harmonic content of the inverter should be tested to ensure that it meets the requirements of the power grid or load.
Other considerations
- Lightning protection and grounding: Photovoltaic energy storage systems usually need to install lightning protection equipment, such as lightning rods and lightning arresters, to ensure that the system is protected from lightning. When installing lightning protection equipment, pay attention to connecting and grounding it with other parts of the system to ensure lightning protection.
- Safety protection: When installing the photovoltaic energy storage system, attention should be paid to safety protection measures, such as setting up safety warning signs and installing guardrails, to prevent accidental injuries caused by accidental touch or entry into dangerous areas.
- Cable laying: The cables in the photovoltaic energy storage system should be laid neatly and orderly to avoid crossing and confusion. The cable joints should have good contact and be firmly fixed, and appropriate waterproof measures should be taken to prevent rain or moisture from invading and causing short circuits or leakage.
- System debugging: After the installation of the photovoltaic energy storage system, a comprehensive system debugging should be carried out to check whether the functions of each part are normal and whether they can work together. During the debugging process, pay attention to observe the operating status and data changes of the system to discover and solve problems in a timely manner.
- Maintenance: The photovoltaic energy storage system needs regular maintenance during operation, such as cleaning the dust on the surface of the photovoltaic array, checking the contact between cables and connectors, and testing the voltage of the battery and the specific gravity of the electrolyte. Regular maintenance can ensure the long-term stable operation of the system and extend its service life.
Photovoltaic energy storage equipment installation process
The installation process of photovoltaic energy storage equipment generally includes the following steps:
- Site survey and design: Before starting the installation, a detailed survey and design of the installation site is required. This includes evaluating the layout of the photovoltaic array, determining the number and specifications of components, selecting appropriate controllers, battery packs, inverters and other equipment, and designing the system circuit diagram and wiring plan.
- Equipment procurement and preparation: According to the design requirements, purchase the required photovoltaic components, controllers, battery packs, inverters, cables, brackets and other materials and equipment, and prepare the tools and instruments required for installation.
- Foundation construction and support installation: According to the design drawings, carry out the foundation construction of the photovoltaic array and the installation of the support. Ensure the stability and durability of the support, and that the photovoltaic modules can be correctly installed and receive the maximum solar radiation.
- Photovoltaic module installation: Install the photovoltaic modules on the bracket according to the predetermined layout plan, and ensure that the connection between the modules is firm and reliable. During the installation process, pay attention to protecting the surface of the photovoltaic modules and the junction box to avoid damage or poor contact.
- Cable laying and wiring: Lay cables and connect various devices according to the circuit diagram and wiring plan. Ensure that the cable specifications and length meet the requirements, the wiring terminals are firm and reliable, and the positive and negative poles are connected correctly. During the wiring process, pay attention to waterproof and dustproof measures to ensure the safety and reliability of the wiring.
- System debugging and testing: After all equipment is installed, system debugging and testing are carried out. Check whether the functions of each device are normal, whether the system can operate normally, and test the system's performance parameters such as voltage, current, power, etc. Any problems that arise should be adjusted and repaired in a timely manner to ensure the stability and reliability of the system.
- Acceptance and delivery: After system debugging and testing, acceptance work is carried out. Check whether the system's installation quality, performance parameters, and safety meet the design requirements and relevant standards. After acceptance, the system will be delivered to the customer, and relevant operation and maintenance manuals and after-sales service support will be provided.
In short, the installation of photovoltaic energy storage equipment is a complex and meticulous process that requires professional knowledge and skills. By following the correct installation process and precautions, the safety, reliability and long-term stable operation of the photovoltaic energy storage system can be ensured.
Energy storage system classification
Battery energy storage system environmental impact
Related Article
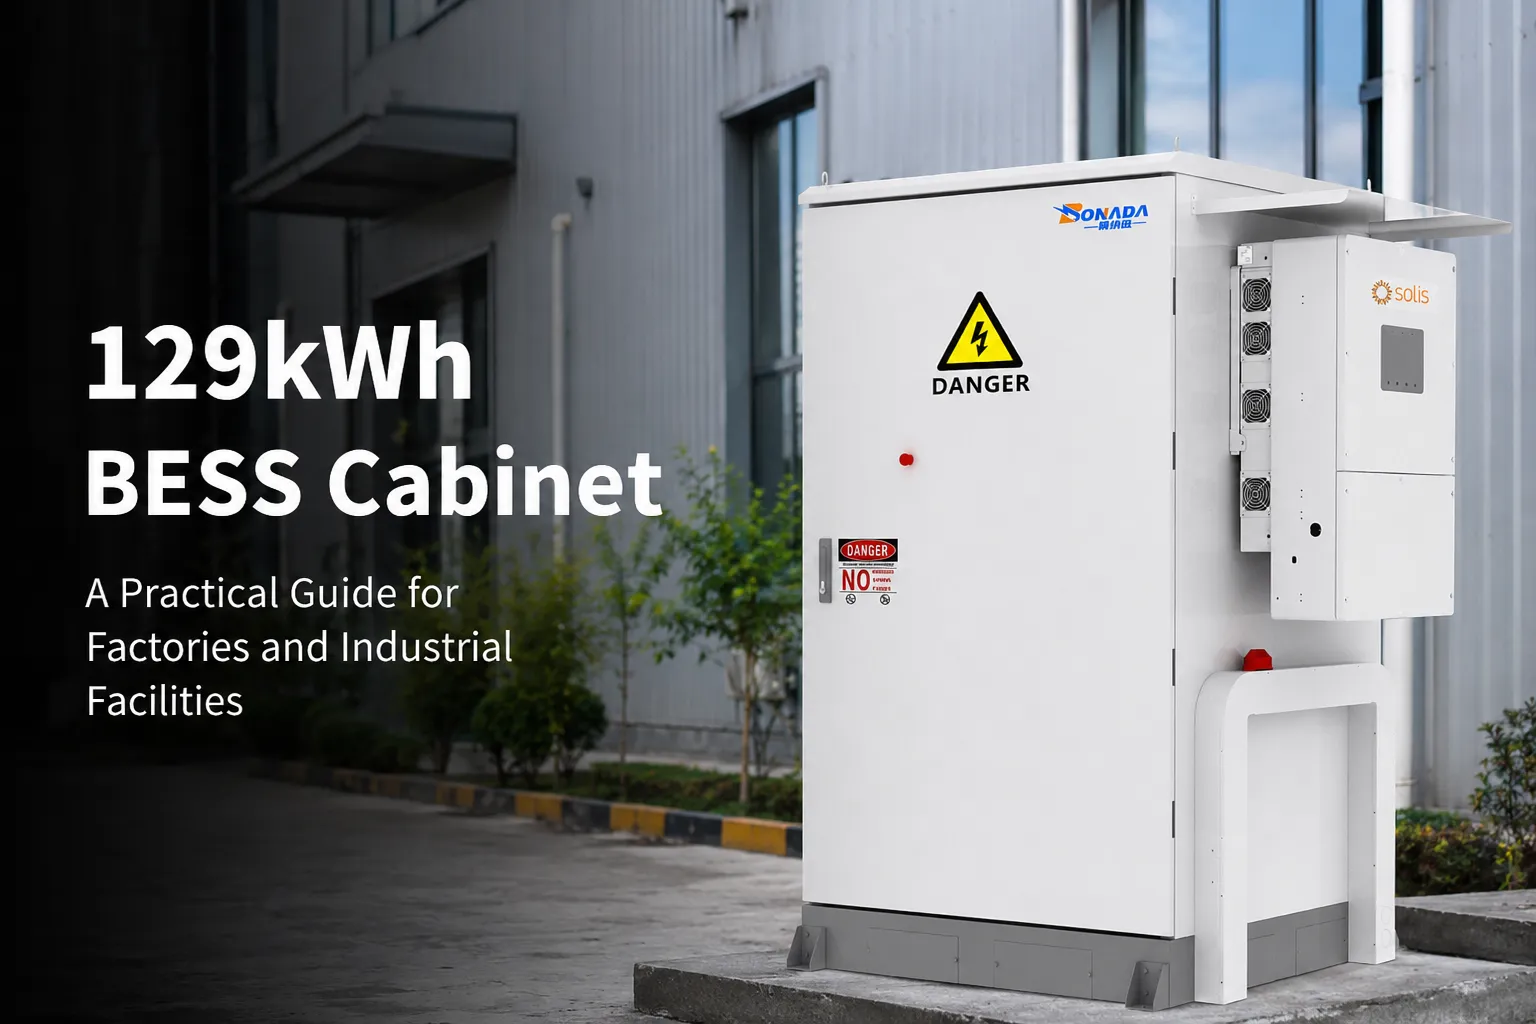
Electricity is one of the largest operating expenses for many factories. The problem is not always the total amount of electricity a facility consumes. In many markets, a factory can face significantly higher charges simply because its power demand reaches a high level for a short period.
129kWh BESS Cabinet: Complete Guide to Capacity, Components, Applications and Sizing
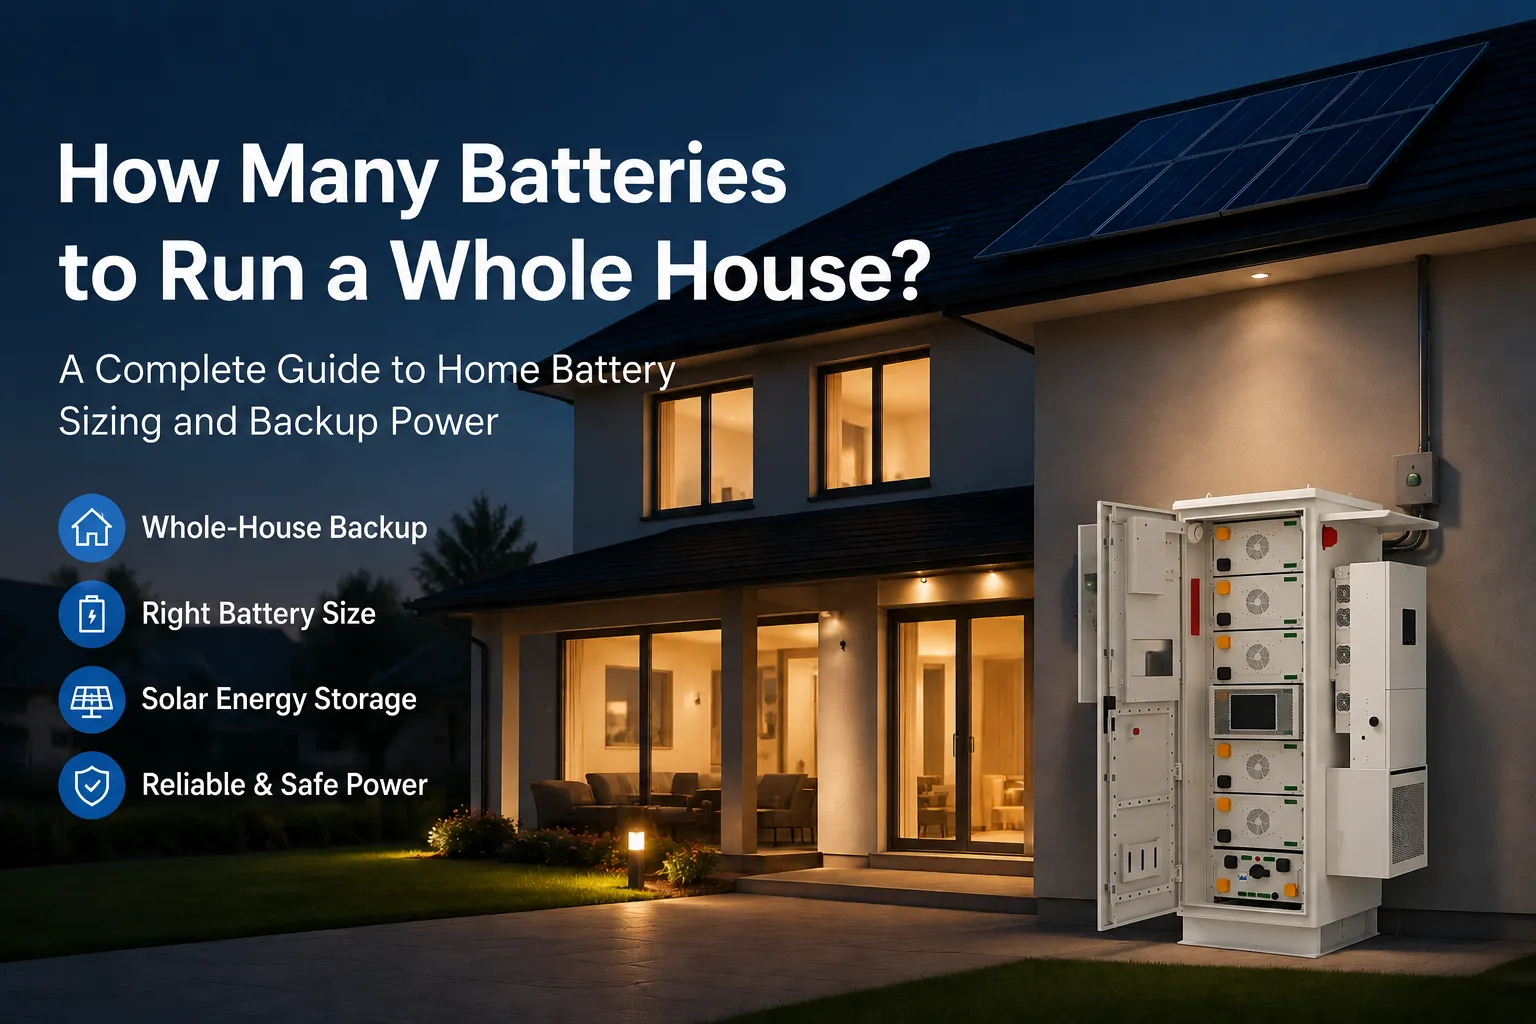
One of the first questions homeowners ask when considering solar storage or backup power is: How many batteries to run a whole house? It sounds like a simple question, but the answer is different for every home. A battery system that works well for a small house with basic backup needs may not be enough for a larger property running air conditioning, electric heating, or an EV charger.
How Many Batteries to Run a Whole House? A Practical Home Battery Sizing Guide
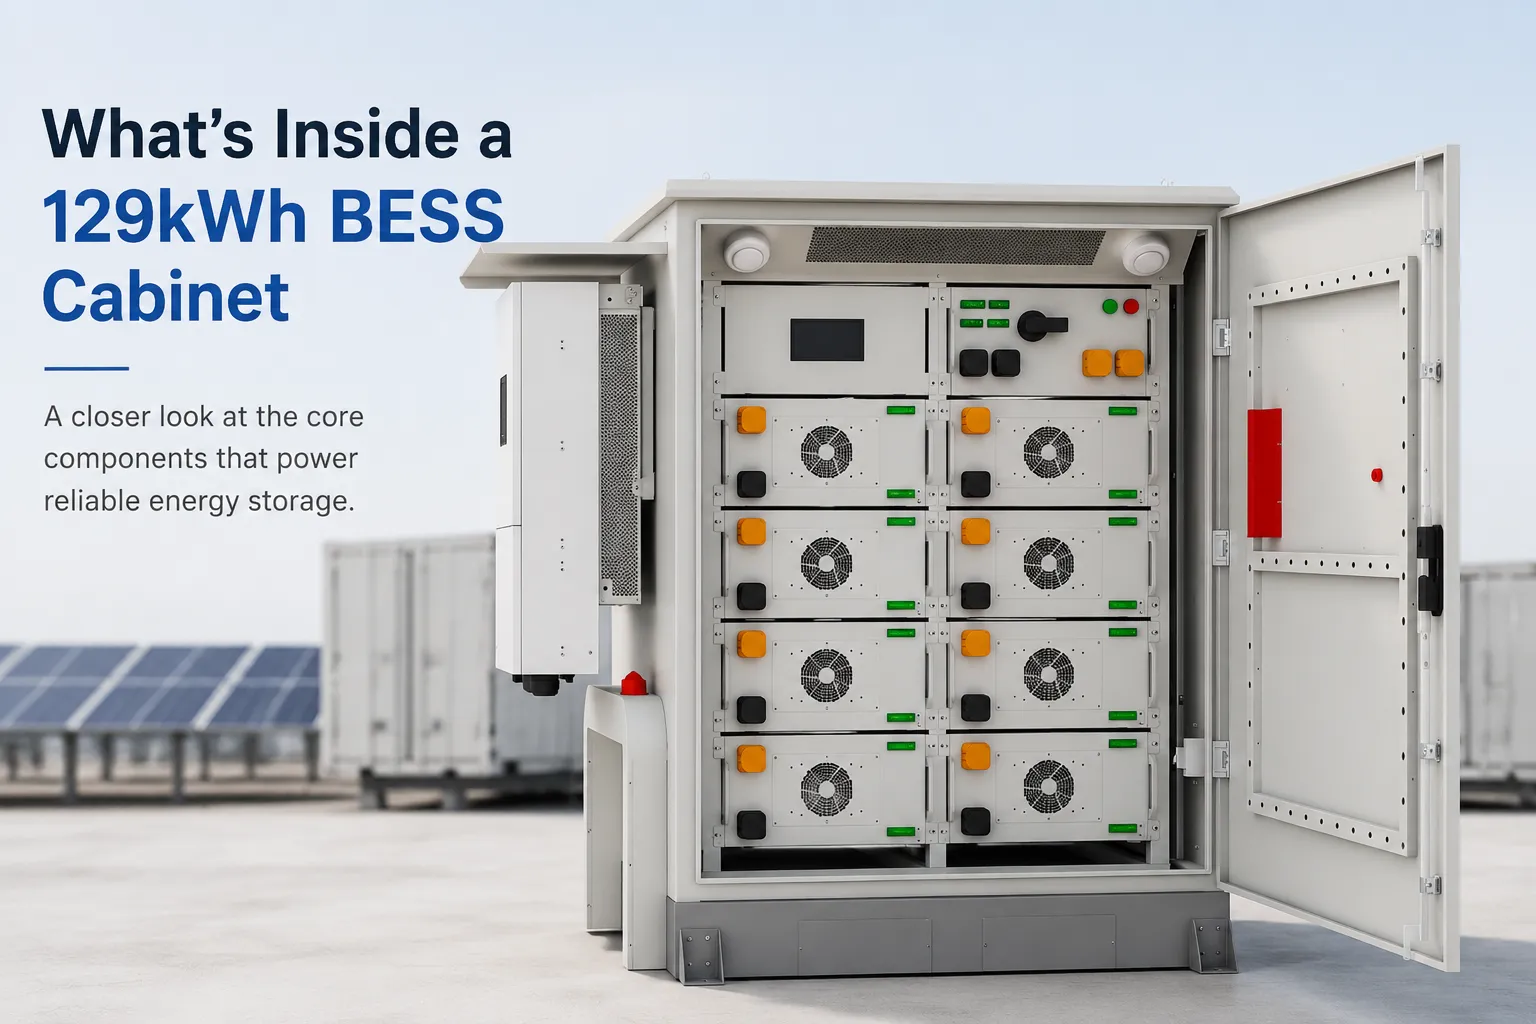
A typical 129kWh BESS cabinet contains much more than battery cells. Inside the enclosure, multiple systems work together, including battery modules, Battery Management System (BMS), high-voltage protection units, Energy Management System (EMS), cooling equipment, fire protection devices, and communication components. Each part has a specific role in maintaining safe and stable energy storage operation.
What's Inside a 129kWh BESS Cabinet? A Complete Breakdown of Internal Components
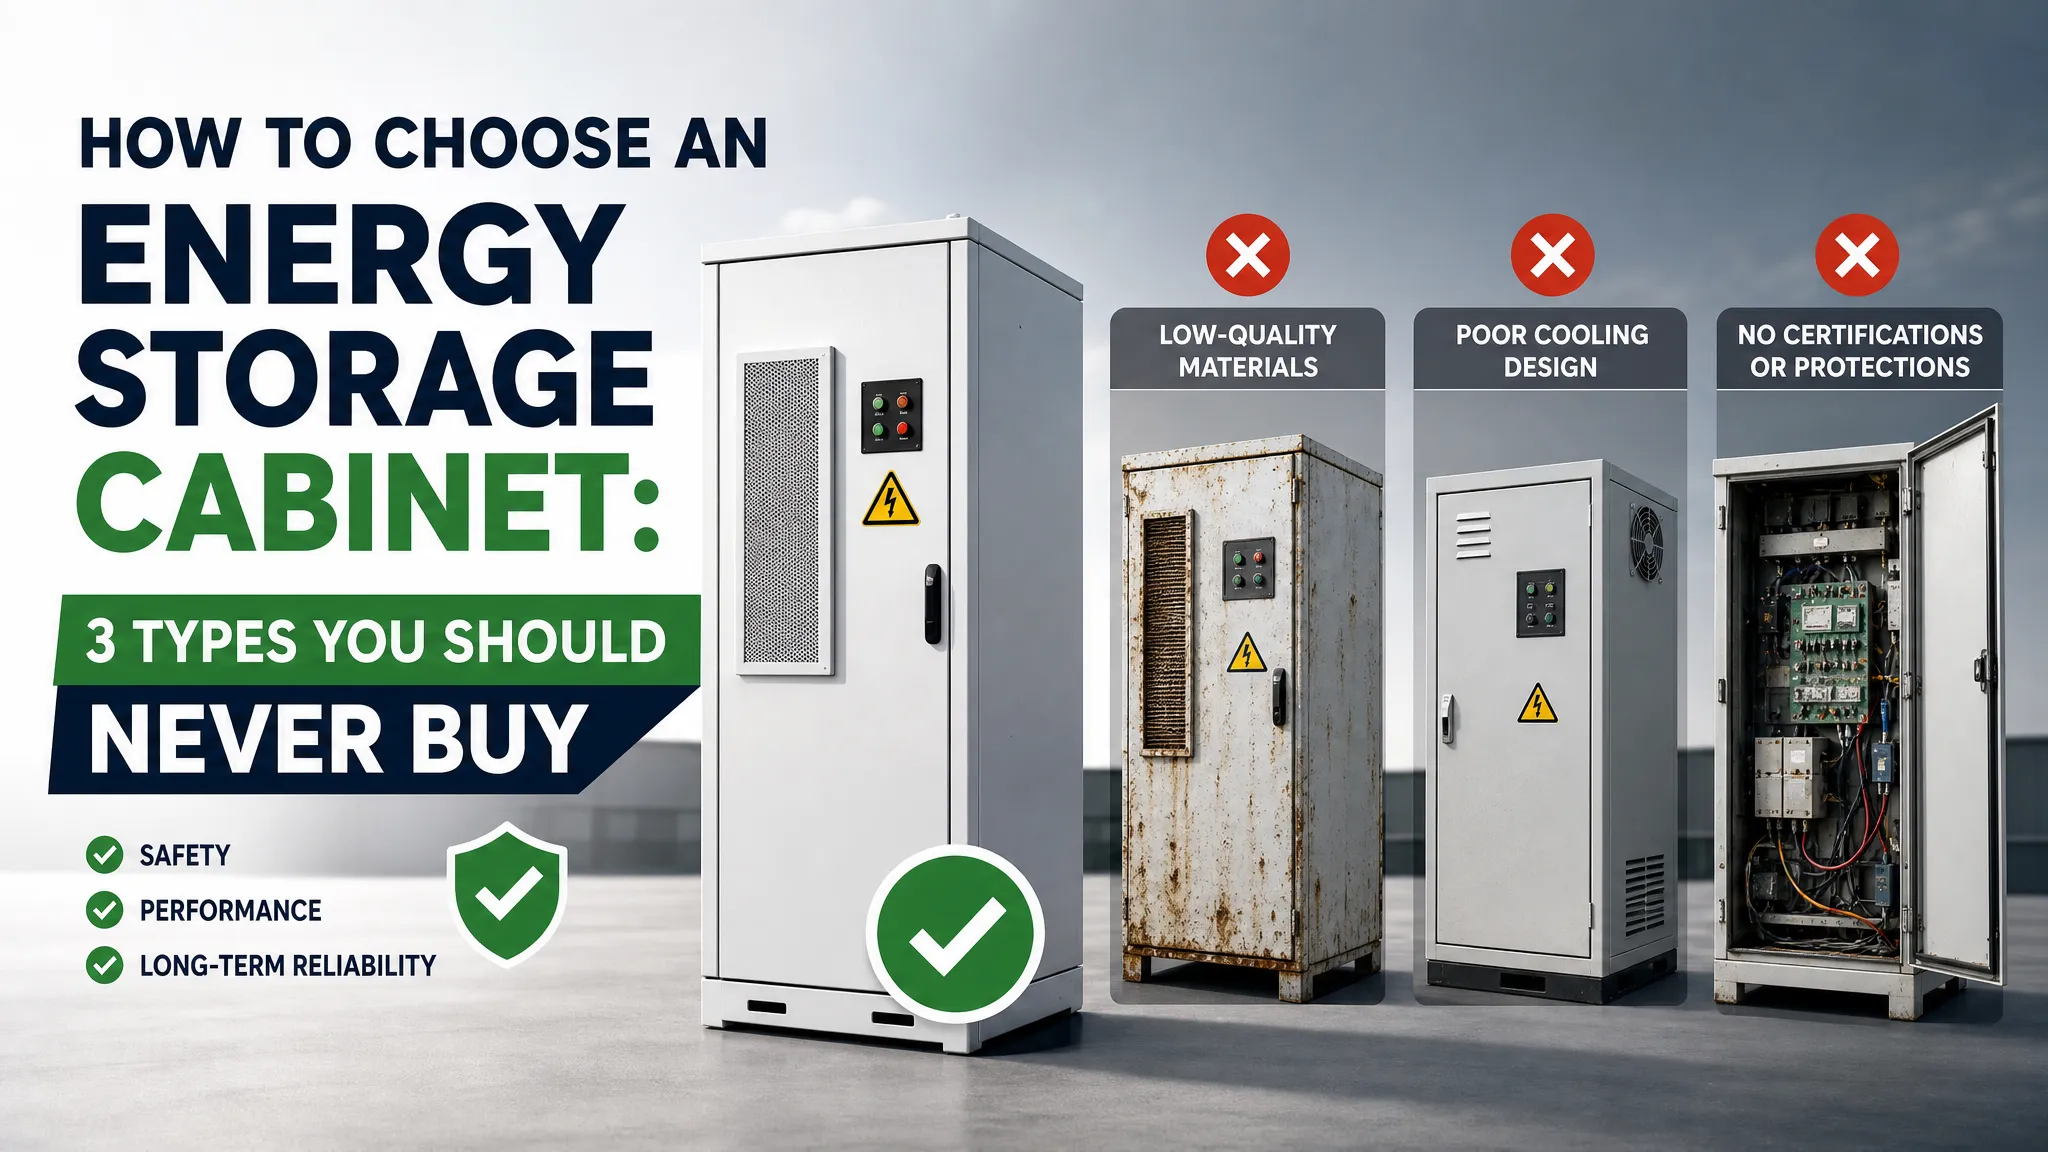
When sourcing a Battery Energy Storage System (BESS), most buyers obsess over cell capacity, inverter brands, and price per kilowatt-hour. The enclosure? It’s usually an afterthought—treated as a simple metal box. That is a massive financial and operational mistake.
How to Choose an Energy Storage Cabinet: 3 Types You Should Never Buy