
7 Steps to Installing Solar Panels Course: Photovoltaic practical knowledge sharing
2025-06-20
If you have purchased all the supplies you need for your PV system. Planning to do it yourself, now you may be wondering, what's next? The solar panel installation process has a lot of hidden details that are easy to miss, especially for the first time, and Bonada will help you assemble them successfully.
7 Steps to solar panel installation course
Step 1: Find the sunniest spot for your solar panels

Your main goal is to get the most sunlight exposure for your panels throughout the day. If you are installing solar panels on your roof, choose the south side or the side that faces southeast or southwest. Ground mounting is more flexible in this regard, but is rarely used for residential systems - not everyone has a backyard large enough to accommodate 20 or so solar panels.
Make sure the location you choose is not shaded. Check the location in the morning, afternoon, and evening - is it more or less exposed to sunlight during the day? Solar panels in the shade may produce 75% less power than their rated output, so it is an important thing to think about ahead of time.
Step 2: Build and set up the mounting platform
Now it's time to build the foundation of your solar installation to ensure that the panels stay in place in all weather and seasons. Build the platform using metal or aluminum rails depending on the length and width of your solar panels. The type of mounting base depends on the type of roof you have. When designing and constructing, try to provide the most comfortable way for the conduit of the control panel inside to avoid any connection problems.
Step 3: Mount the solar panels to the platform

Mount the panels to the platform using brackets, bolts or clamps. Make sure to tighten all the mounting details so that they remain stable and secure. Properly secure your panels so that they can withstand wind and extreme weather conditions. If you mount your panels on the roof, be extra careful and provide all safety conditions for yourself and those working with you.
Step 4: Connect all solar modules together
Before turning on, check that the wires of each module are insulated to avoid leakage and accidents later. Check the connectors – you may find MC4 or MC4-compatible connectors. If some connectors are different, you need to replace them. Connect the modules in series by connecting the positive (+) lead of one module to the negative (-) lead of the next module. Then, connect the series strings in parallel by connecting the extra positive and negative leads of the strings together.
Step 5: Ground the Panels and Mounting Platform

Grounding the solar panels and platform is essential because they are made of metal. By doing so, you can protect all your equipment from damage that can be caused by lightning and power surges. You can also protect yourself and others from electric shock.
- 1. Connect the unit to a grounding rod that is grounded near the building with a copper wire
- 2. Extend the long copper rod about 6 inches out of the ground
- 3. If there is no grounding network, ground the control panel
Step 6: Install equipment such as solar inverters

Solar inverters should be part of any photovoltaic system, regardless of its type. It is needed to convert the direct current generated by the solar panels into alternating current to run your home appliances. The inverter is installed near the main panel, usually indoors in a cool, dry, ventilated place. It can also be installed outdoors if the manufacturer states so in the specification sheet.
Off-grid systems also require a charge controller and batteries for power storage. Choose the same type of room as the inverter, and avoid overheating and dust accumulation.
Step 7: Connect the inverter to the consumer unit
The inverter should be connected to the consumer unit to generate electricity. A power meter should also be connected to monitor the amount of electricity generated by the solar panels. You can use your computer or other devices to check the performance of your solar system. For example, you can check how much electricity you generate at different times and decide when is the best time to use your washing machine or other utilities.
The main rule is to connect the positive wire to the "positive" and the negative to the "negative". If you have any doubts about your skills - it is recommended that you seek help from an electrician. To connect your solar system to the grid, contact the utility provider in your area for more information. Only utility experts can connect your system to the grid.
It's time for a test run!Before initializing a test run, always check that your entire system is securely fixed and connected - your system should be grounded, all your devices (including wires) should not have any defects and are properly plugged in to work properly. Now you can turn on the power and test the entire system.
What does a solar charge controller do
What is the difference between solar panels and solar tiles
Related Article
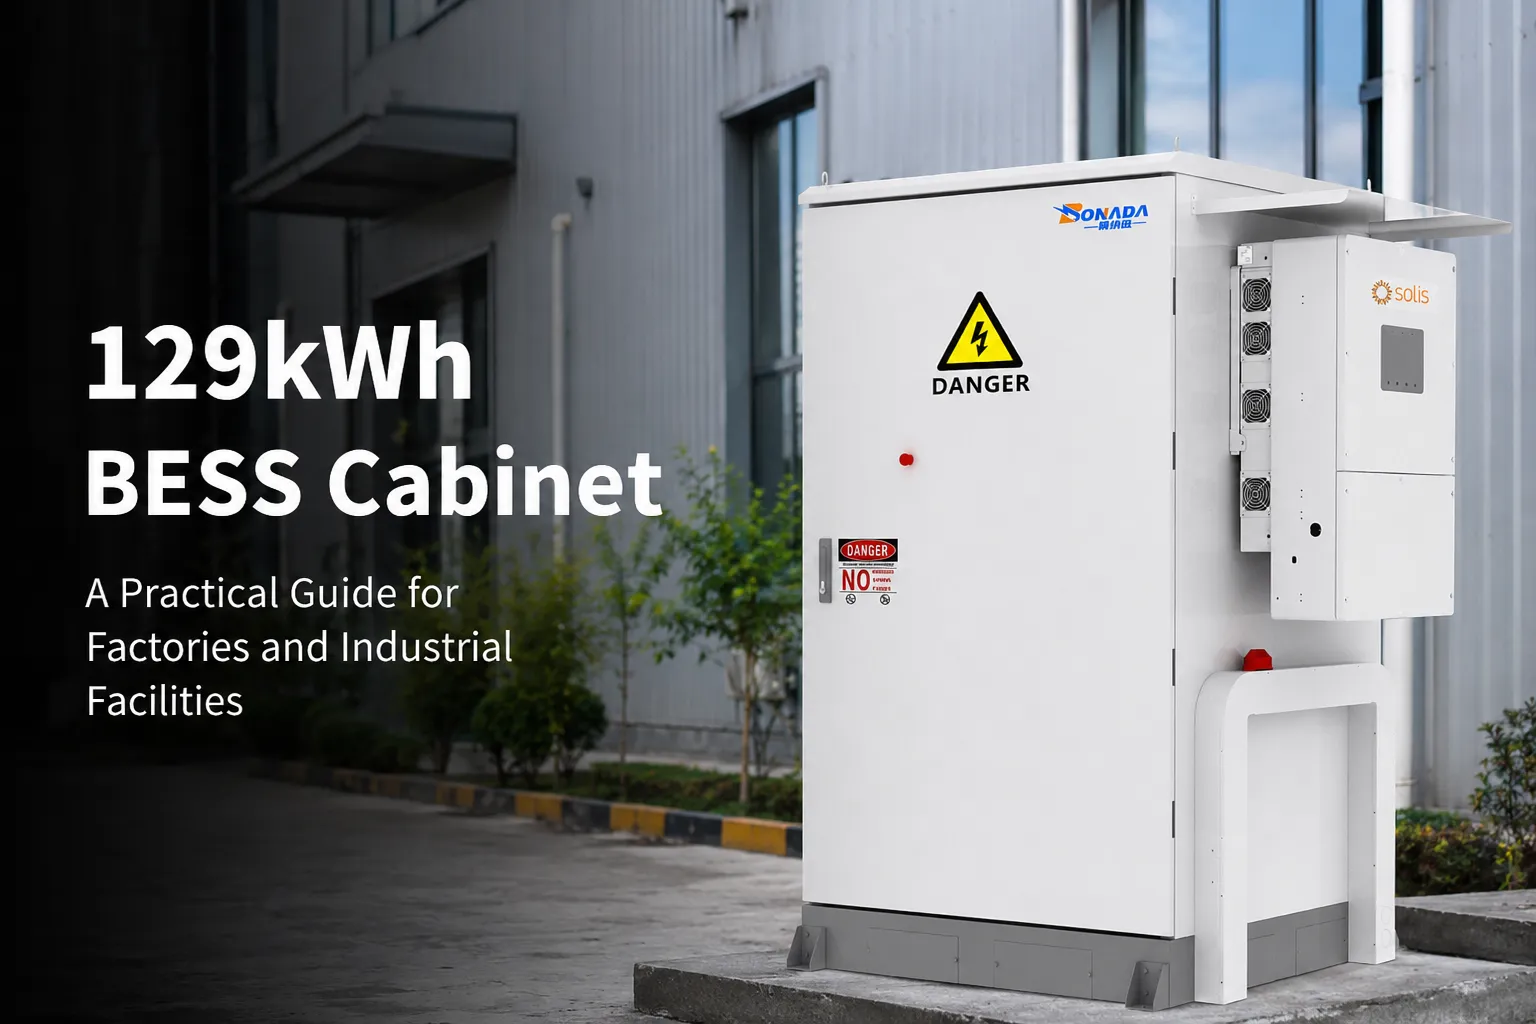
Electricity is one of the largest operating expenses for many factories. The problem is not always the total amount of electricity a facility consumes. In many markets, a factory can face significantly higher charges simply because its power demand reaches a high level for a short period.
129kWh BESS Cabinet: Complete Guide to Capacity, Components, Applications and Sizing
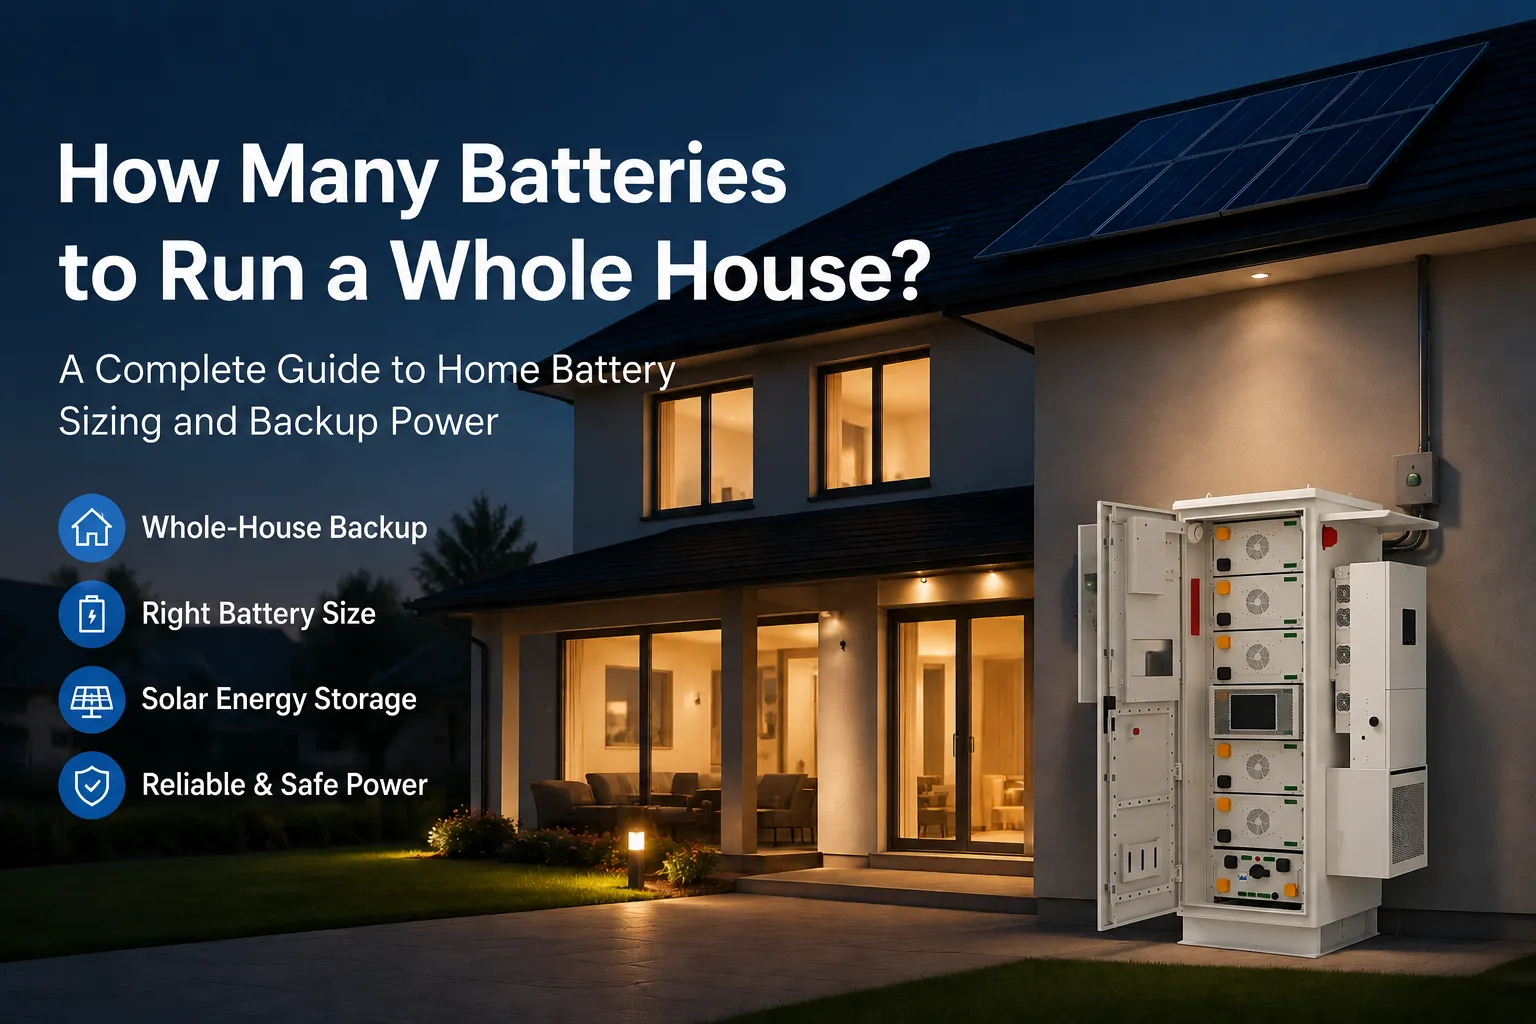
One of the first questions homeowners ask when considering solar storage or backup power is: How many batteries to run a whole house? It sounds like a simple question, but the answer is different for every home. A battery system that works well for a small house with basic backup needs may not be enough for a larger property running air conditioning, electric heating, or an EV charger.
How Many Batteries to Run a Whole House? A Practical Home Battery Sizing Guide
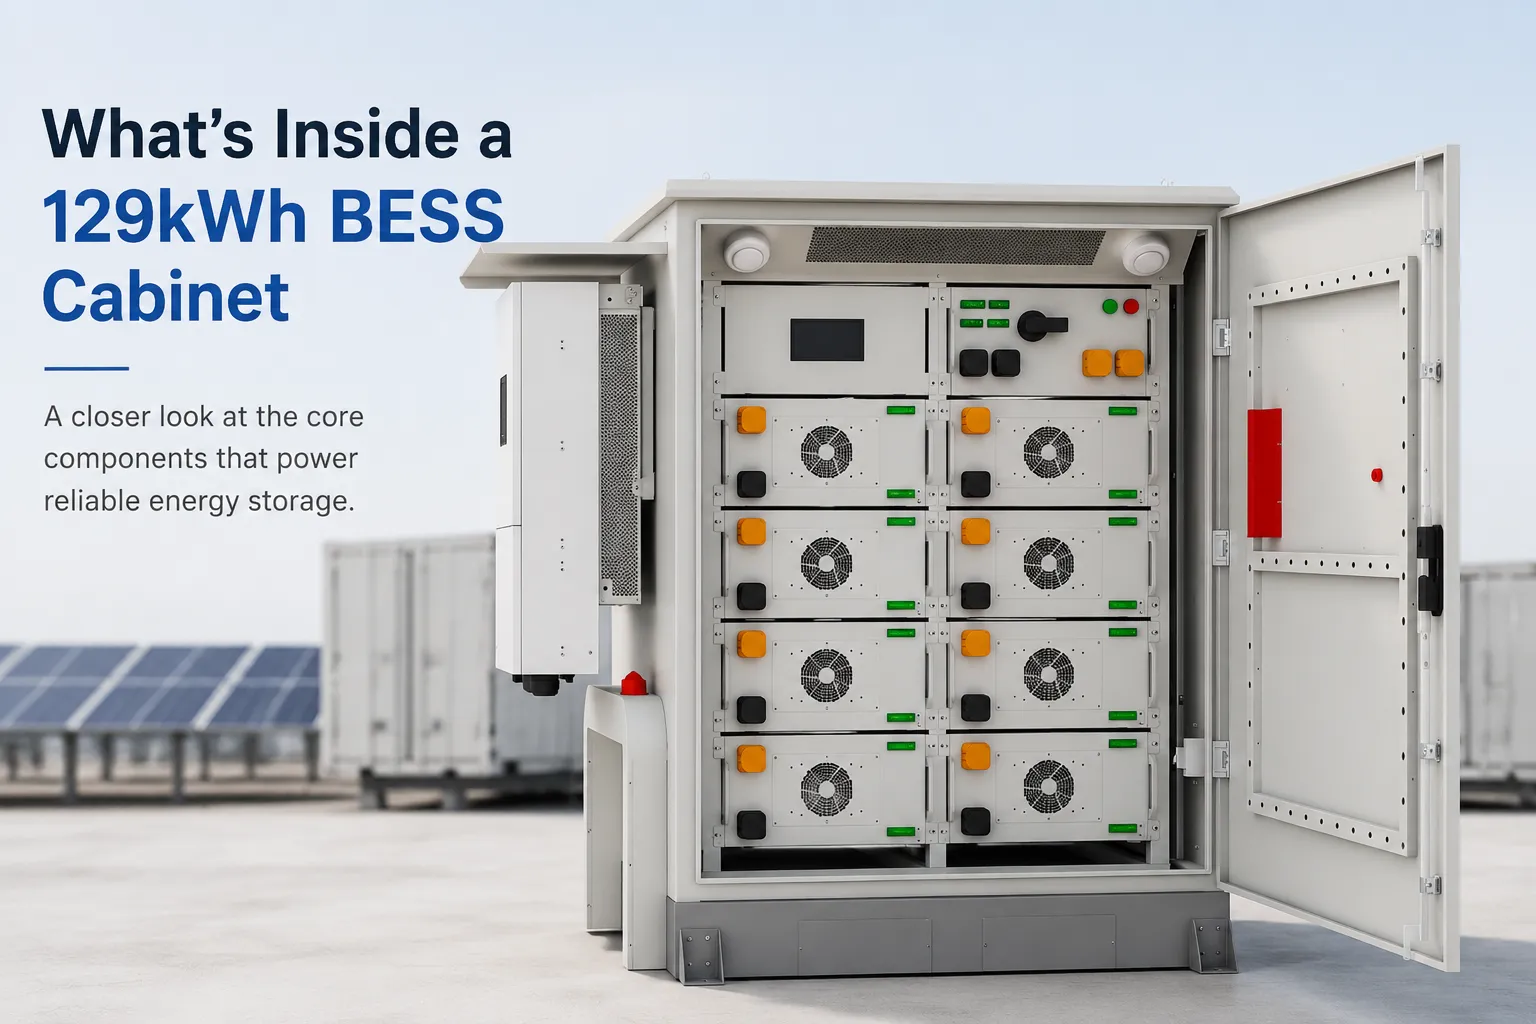
A typical 129kWh BESS cabinet contains much more than battery cells. Inside the enclosure, multiple systems work together, including battery modules, Battery Management System (BMS), high-voltage protection units, Energy Management System (EMS), cooling equipment, fire protection devices, and communication components. Each part has a specific role in maintaining safe and stable energy storage operation.
What's Inside a 129kWh BESS Cabinet? A Complete Breakdown of Internal Components
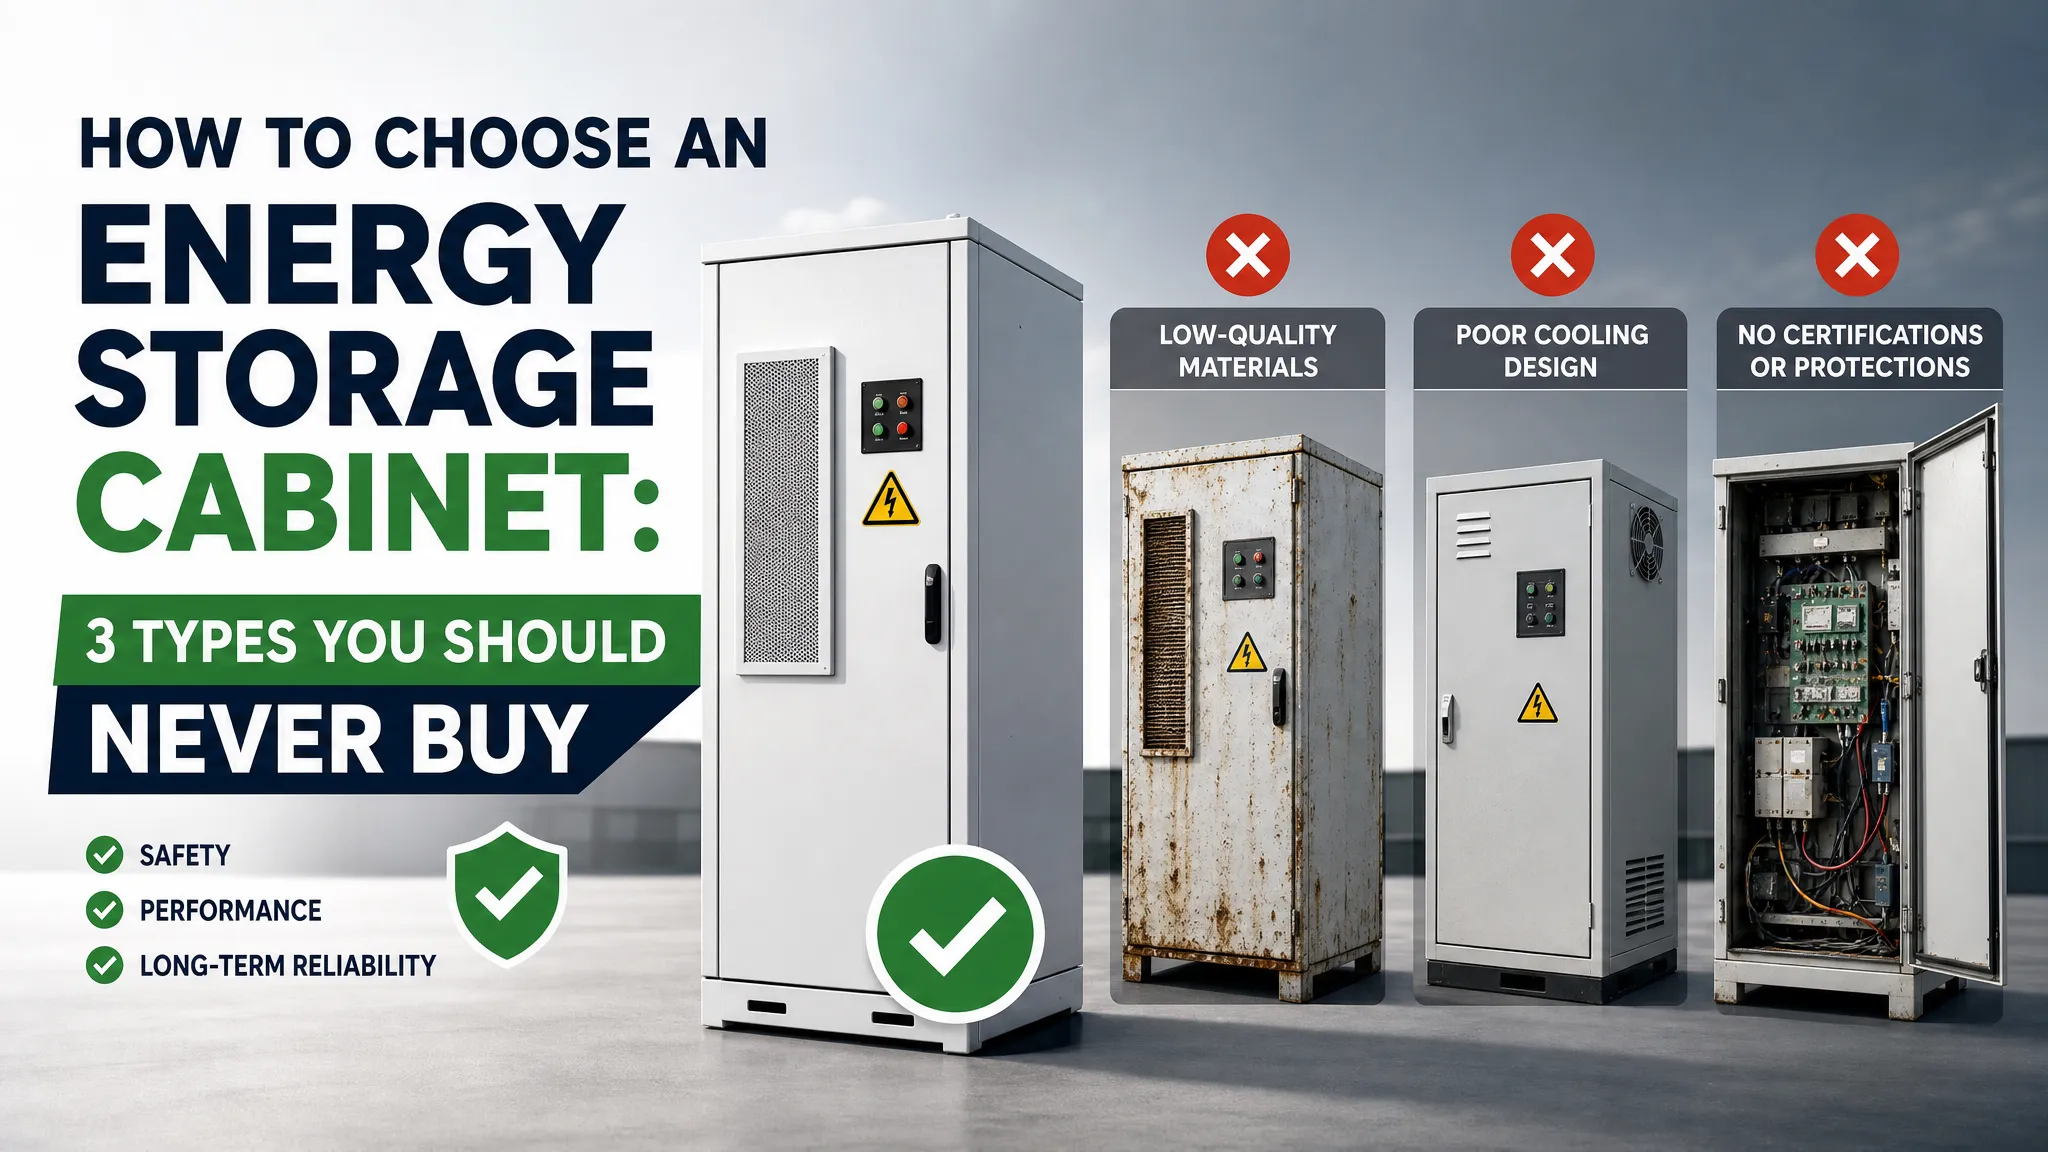
When sourcing a Battery Energy Storage System (BESS), most buyers obsess over cell capacity, inverter brands, and price per kilowatt-hour. The enclosure? It’s usually an afterthought—treated as a simple metal box. That is a massive financial and operational mistake.
How to Choose an Energy Storage Cabinet: 3 Types You Should Never Buy