
How to Connect Solar Panels to Battery: A Complete Wiring Guide
2025-05-12
Connecting solar panels to a battery bank is a very crucial step when attaching or using solar energy later on. Whether you are connecting for an off-grid solar system or adding battery backup to an existing grid-connected system, ensuring the proper wiring is paramount for safe and efficient use. This article will cover everything that you need to know to successfully connect your solar panels to batteries.
Before you begin, check that you have the following items:
Solar Panels
Deep Cycle Battery (Lead -acid or Lithium)
Solar Charge Controller (PWM or MPPT)
Battery Cables (appropriate gauge)
MC4 connectors (if reversible connectors are not installed on the solar panels)
Fuses / Circuit Breakers

Tools: Wire Strippers, wire crimpers, multimeter
Process of Connecting
1. Choosing the Proper Charge Controller
You will want to choose between:
- PWM controllers (good option for small systems and budget)
- MPPT controllers (more efficient, 15-30% better in larger systems)
Make sure your charge controller has the same voltage rating as your solar array and battery bank.
2. Attach Battery to Charge Controller First
Attach the positive battery cable to the DC controller's battery (+) terminal
Attach the negative battery cable to the DC controller's battery (-) terminal
Use your multimeter to check the polarity at the battery terminals.
Important Note: You must connect the battery first to prevent damage to the charge controller.
3. Now attach solar panels to the charge controller using the wiring method chosen (series or parallel - see next section)
Connect the solar array positive output to the charge controller's solar (+) terminal
Connect the solar array negative output to the charge controller's solar (-) terminal
Add any fuses/breakers as required.
4. Confirm connections
Check that all of the connections are tight
Check voltage readings at each step
Check the initial charging of the system
Solar panel wiring configurations
Series connection (higher voltage)
One panel's (+) connects to the next panel's (-)
Voltage is additive (total volts), current is the same
Best for MPPT types of controllers and run wires long distance to the battery
Parallel connection (higher current)
Connect all of the (+) together and all of the (-) together.
Current is additive (total amps), voltage is the same.
Requires a combiner box, or branch connectors to connect panels.
Safety:
·Use the correct wire gauge - Avoid having the voltage drop out or short out and overheating
·Install fuses/breakers - Protect the system against a short
·Mind the polarity - Reverse polarity can short out or damage equipment
·Install system in daylight - It is easier to troubleshoot and find issues but take care there are live wires
·Consider hiring a professional for larger or complicated systems
Common errors to avoid:
❌ Connecting the panels to the controller before connecting to the battery
❌ Using undersized wiring
❌ Using batteries of different types/ages (label battery connections)
❌ Forgetting to use fuses and circuit protection
❌ Connecting to a charge controller with an input voltage above the voltage specified by the manufacturer
Maintenance:
✔ Visually check connections once a month for corrosion
✔ Clean solar panels regularly
✔ Meter the charge levels of the battery
✔ Test the seasonal performance of the system.
By following these steps, you can connect your solar panels to your batteries and have a reliable renewable energy battery storage system. For larger systems (5kW+), it is advisable to have a professional solar installer to ensure everything is working correctly and safely.
Pro Tip: Save your system diagram and manuals with components for next time and troubleshooting.
Would you like more information about a specific section of this install process?
Solar vs Wind Energy: Pros and Cons Comparison
The service life of photovoltaic power stations for home solar energy storage systems
Related Article
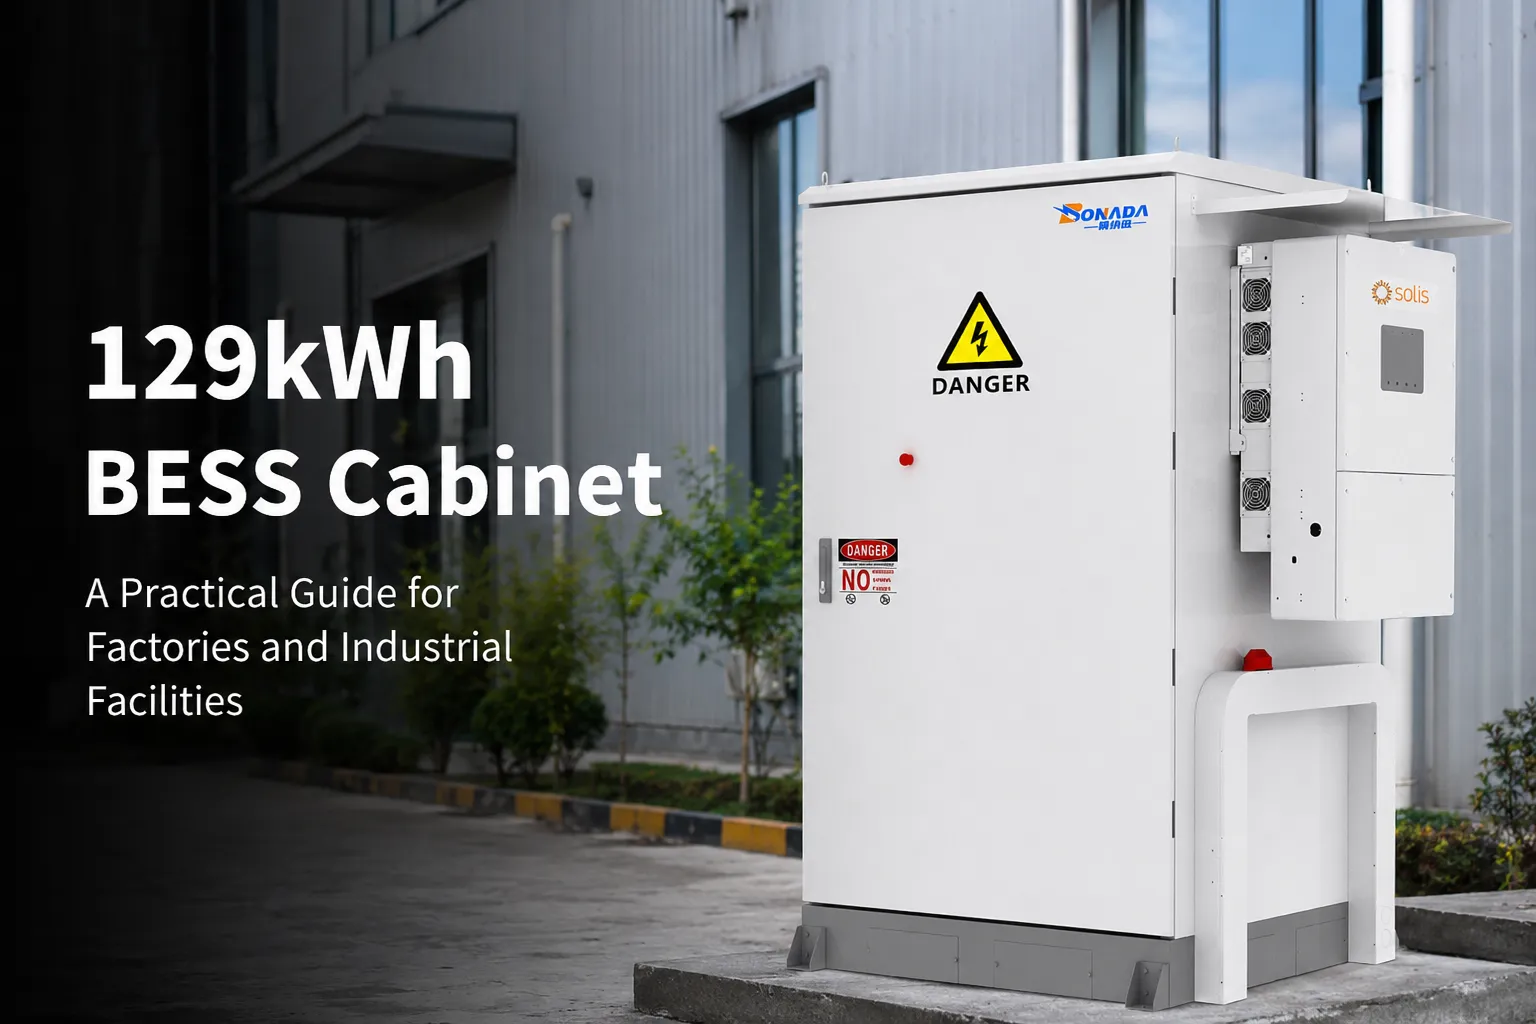
Electricity is one of the largest operating expenses for many factories. The problem is not always the total amount of electricity a facility consumes. In many markets, a factory can face significantly higher charges simply because its power demand reaches a high level for a short period.
129kWh BESS Cabinet: Complete Guide to Capacity, Components, Applications and Sizing
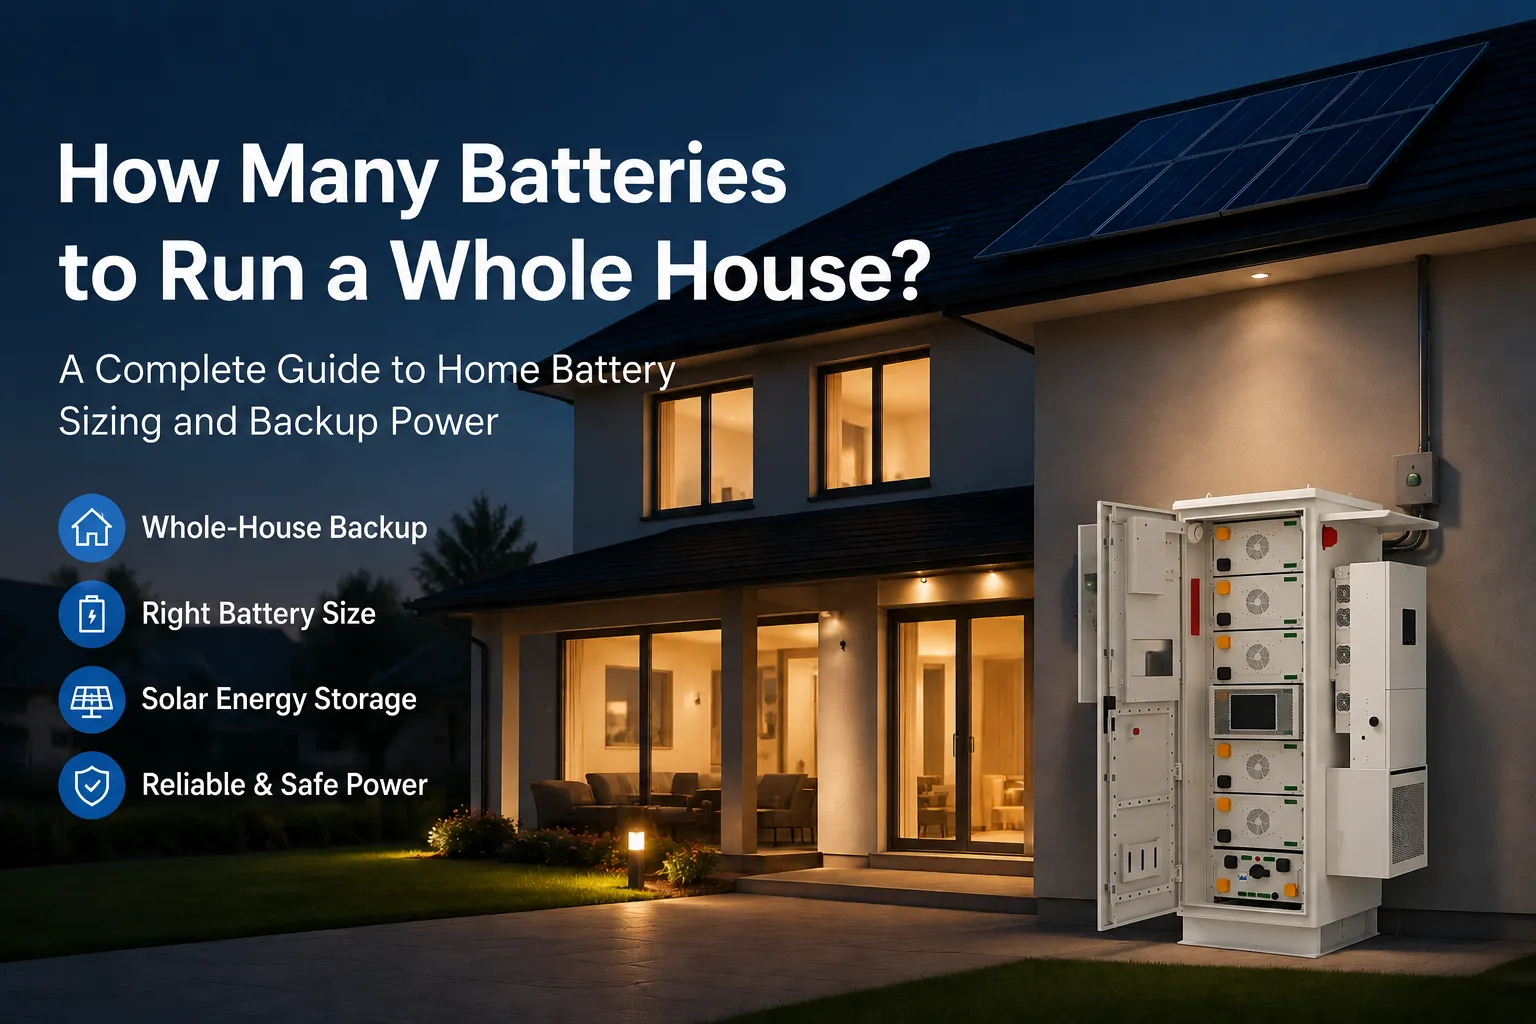
One of the first questions homeowners ask when considering solar storage or backup power is: How many batteries to run a whole house? It sounds like a simple question, but the answer is different for every home. A battery system that works well for a small house with basic backup needs may not be enough for a larger property running air conditioning, electric heating, or an EV charger.
How Many Batteries to Run a Whole House? A Practical Home Battery Sizing Guide
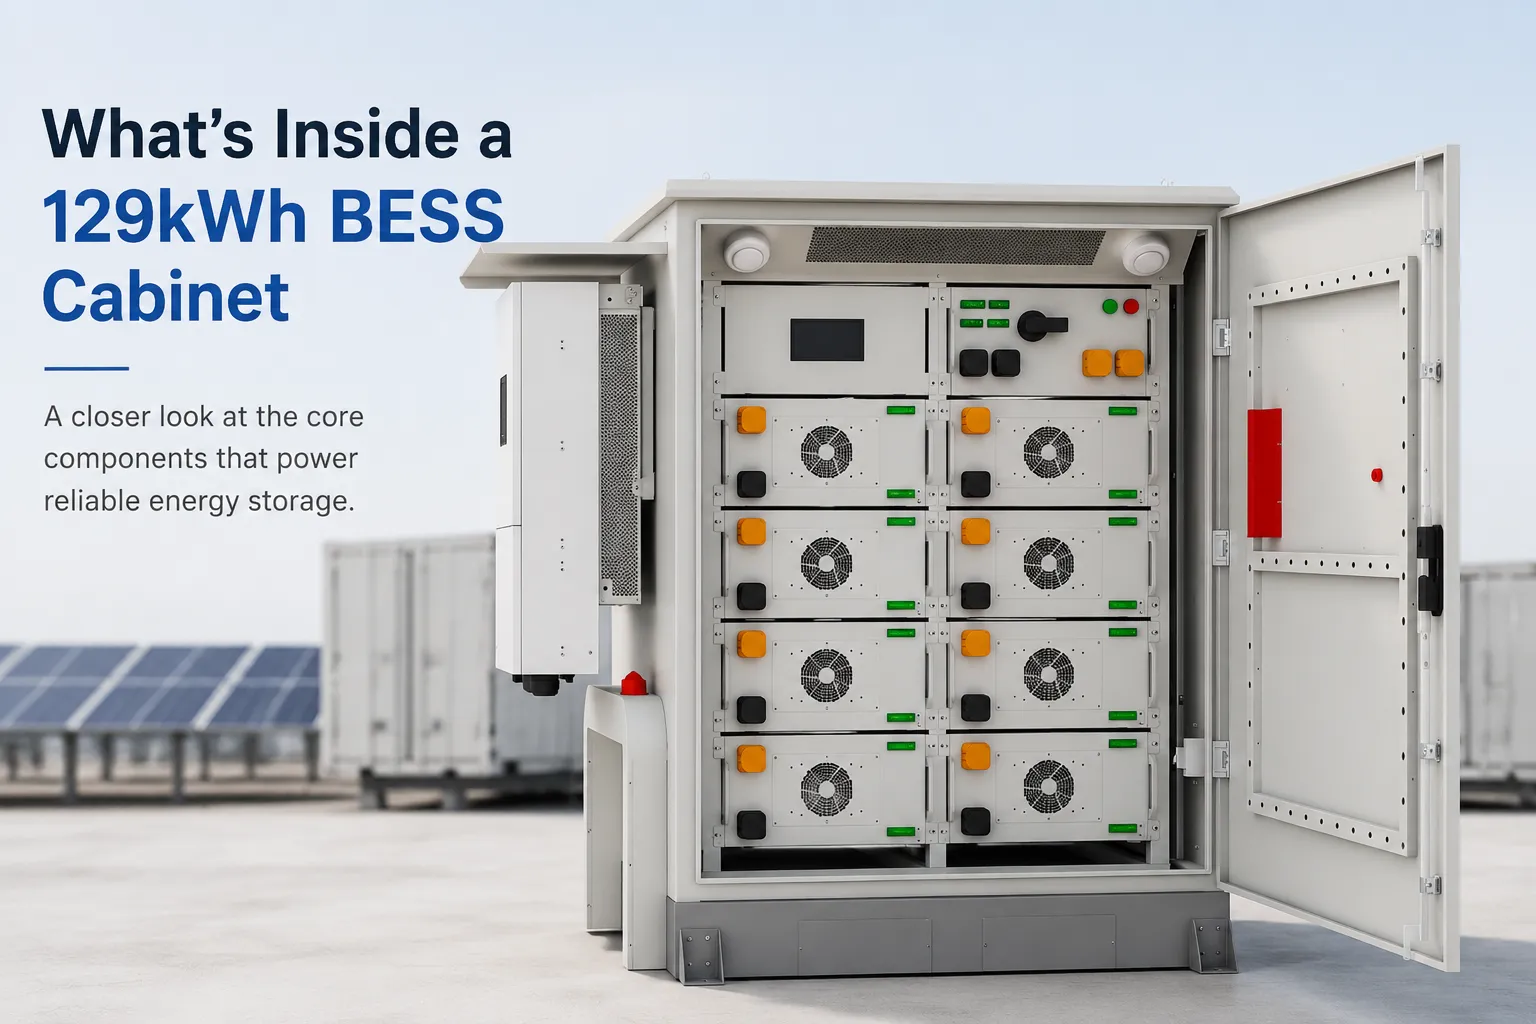
A typical 129kWh BESS cabinet contains much more than battery cells. Inside the enclosure, multiple systems work together, including battery modules, Battery Management System (BMS), high-voltage protection units, Energy Management System (EMS), cooling equipment, fire protection devices, and communication components. Each part has a specific role in maintaining safe and stable energy storage operation.
What's Inside a 129kWh BESS Cabinet? A Complete Breakdown of Internal Components
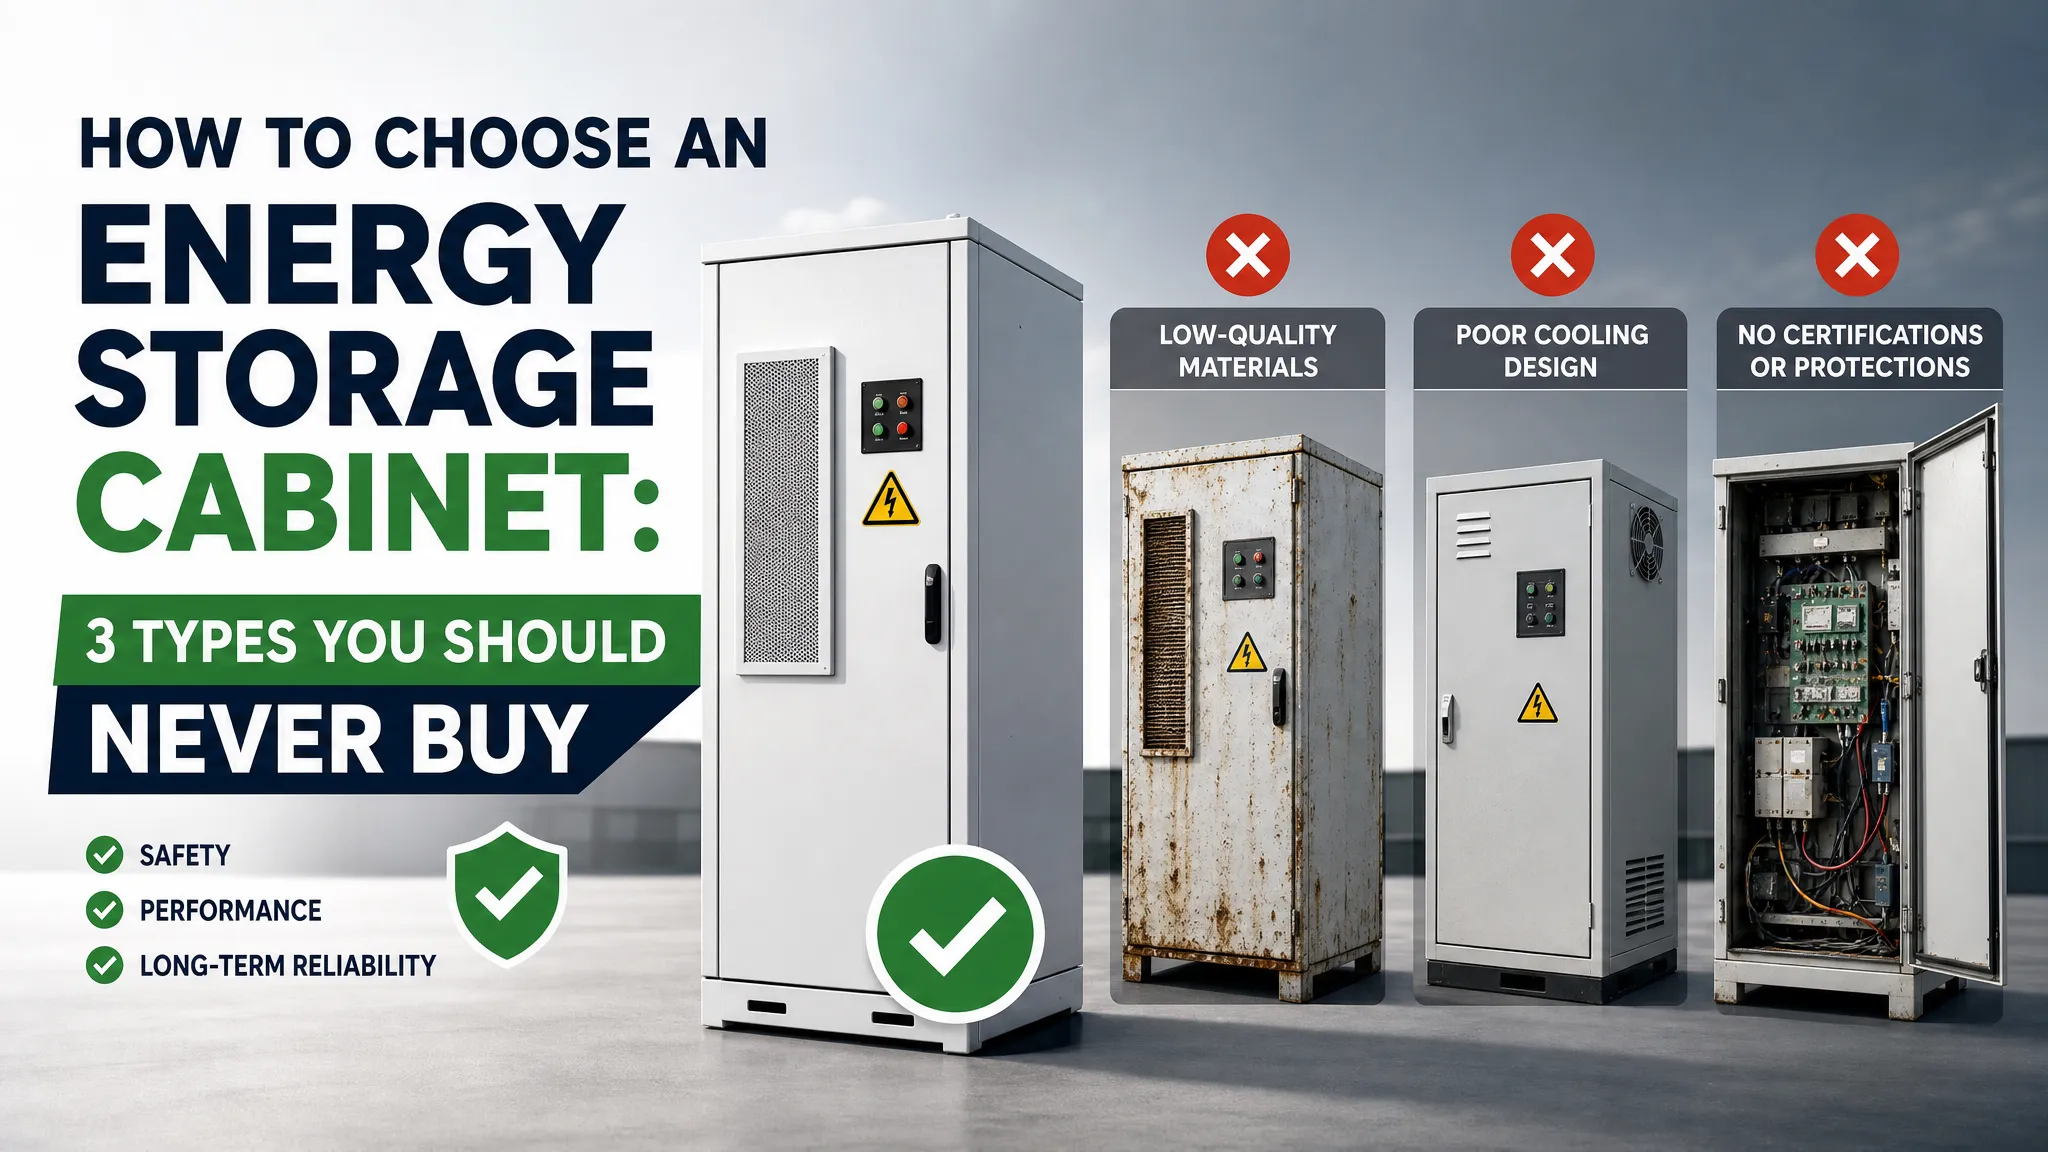
When sourcing a Battery Energy Storage System (BESS), most buyers obsess over cell capacity, inverter brands, and price per kilowatt-hour. The enclosure? It’s usually an afterthought—treated as a simple metal box. That is a massive financial and operational mistake.
How to Choose an Energy Storage Cabinet: 3 Types You Should Never Buy